I've received the Homatics Dongle G 4K for review.
It is a small Google TV certified media streaming device running Android 11, which is meant to be hooked up behind the TV to an HDMI port. The Dongle G 4K receives power via its 5W microUSB port. The USB cable can be connected to the TV as well if your TV has a 5W USB port (most modern TVs do). Otherwise, you can connect it to a wall power adapter (included in the box). A small white LED indicates that it is powered on.
The Dongle G 4K specs include 2GB LPDDR4 RAM and 8GB eMMC built-in storage. The 2GHz quad-core CPU with the Mali-G31 GPU give it ample power to stream 4Kp60 content easily.
It is currently priced at $59.99 USD (less with discount code - see below). You can select which power adapter will be included (US / EU / UK).
* EDIT 2025-04-08: There's an upgraded model with 32GB storage, with a list price of $79.99.
Setup is quite easy and straight-forward. If you have the Google Home app installed on your phone, you just add a new device, scan the QR code that's displayed on the screen, and follow the procedure on your phone.
 |
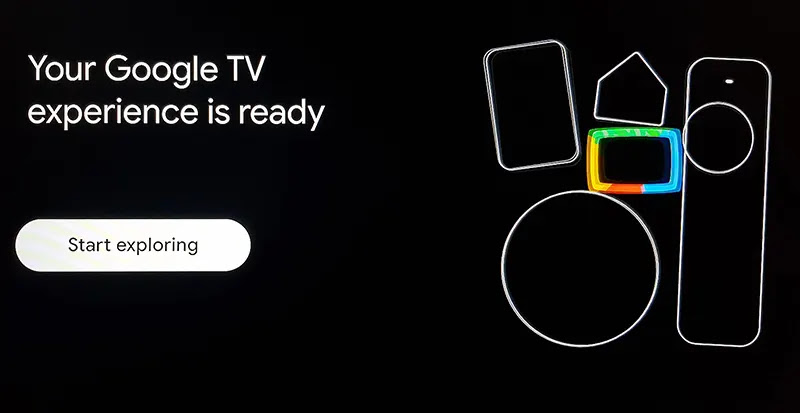
You'll see this screen when setup is finished
|
In the box you get the dongle, remote, power adapter, microUSB to USB Type-A cable, and 2x AAA batteries for the remote. The remote is Homatics' standard remote which features the Google Assistant button for voice instructions.
The dongle itself features the following: microUSB 5V DC port, RJ45 LAN port, USB Type-C port, HDMI 2.1 port and a Recovery button.
Wireless connectivity includes
WiFi5 802.11ac and
Bluetooth 5.0.
The Dongle G 4K supports Google's Widevine L1 and Microsoft's PlayReady SL3000 DRM, which means it can stream up to UHD 4K in all the major streaming services (Netflix, Disney+, Amazon Prime, etc..).
Everything works as expected, and it plays YouTube and Netflix videos without any issue.
You can of course download games from the Google Play Store, and play them on the Dongle G 4K, but don't expect high-end gaming. For gaming, I recommend purchasing the Homatics Gamepad.
You can connect a storage device to the USB Type-C port, and transfer files from it. You can also play movies and audio directly from the USB device, using a media player such as MX Player (you'll need to download it from the Play Store).
All in all, the Dongle G 4K is a very nice discrete, inexpensive and low-power media streaming solution. Especially recommended for a kid's or guest's room. Thumbs up!
* If you use my special coupon discount code 1HDBIZ, you'll get a 10%
discount.
* ✈ International Global shipping available.